blue
installation
Blue can be deployed in two modes: (1) localhost (2) swarm mode. localhost is more suitable for trying blue out and for development and swarm mode is more suitable for staging and production deployments. Below, we describe how you can install blue in localhost mode. See Swarm Deployment for deployment in swarm mode when we discuss production mode of deployment.
requirements
software
- docker: Blue requires docker to build and run the infrastructure and agents. To develop on your local machine you would need to install docker engine from https://docs.docker.com/engine/install/ (Supported Versions: Docker Engine 27.5 and Docker Desktop 4.38)
- python: Blue developers API is currently only available in Python (Supported Versions: Python 3.10.12)
hardware
Below are recommended minimums for installation:
- 32GB Memory
- 128GB Disk Space
On AWS a minimum recommended instance type is t3.xlarge.
os/platforms
Below are supported platforms with existing images on docker hub:
- linux/arm64/v8,linux/arm64,linux/arm/v7,linux/amd64,linux/amd64/v2,linux/amd64/v3,linux/amd64/v4,linux/386
3rd party APIs
- openai: Some of the agents use OpenAI as such to try them you would need OPENAI_API_KEY that will be necessary to configure during installation
- docker hub: For agent development it is recommended that images are published to docker hub image repository.
download
Most convenient way to install and configure blue is through its CLI (blue-cli). In this option, you would not need to build any images as they will be downloaded from docker hub.
Another approach is through cloning code from this repo, building images and manually configuring. We recommend following blue-cli approach for most people at first and then try cloning for development.
installation through blue-cli
install blue-cli
To download and install blue-cli, you can pip install it as shown below. It is highly recommended to create a virtual environment (e.g. venv) to avoid any conflicts and also upgrade pip (pip install --upgrade pip) first:
$ pip install ${BLUE_BUILD_CACHE_ARG} ${BLUE_BUILD_LIB_ARG} blue_cli==1.0
where X is the latest beta release number
Unless you are developing both BLUE_BUILD_CACHE_ARG and BLUE_BUILD_LIB_ARG should be empty, in other words:
$ pip install blue_cli==1.0
blue-cli also installs blue-platform, the python library for blue development.
Once installed, you can invoke blue cli, for example:
$ blue
This would list the various blue commands, as shown below: Usage: blue [OPTIONS] COMMAND [ARGS]…
Options:
  --help  Show this message and exit.

Commands:
  platform  command group to interact with blue platforms
  profile   command group to interact with blue profiles
  service   command group to interact with blue services
configure blue profile
To use blue-cli most conveniently you need to create a blue profile, which captures profile specific configuration of the blue deployment. By default default profile is automatically created which you can see from the output of:
$ blue profile ls
name
* default
The * next to the default profile entry indicates that it is the currently selected profile. This is a convenience as you would not need to specify --profile_name option with each subsequent command.
To configure the selected profile:
$ blue profile config
This will ask you a number of questions with you can skip just using the default values, such as:
BLUE_INSTALL_DIR, directory where blue is installed (only used for during development, e.g./home/ubuntu/blue/)BLUE_DATA_DIR, directory hosting data for blue services, will be used to create a docker volume and map to this directory (e.g. ` /home/ubuntu/.blue/data`)BLUE_DEV_DOCKER_ORG, docker org to push/pull blue agents and services, use your own org if you develop your own agents, otherwise usemegagonlabsBLUE_CORE_DOCKER_ORG, docker org to push/pull core blue components, often,megagonlabsBLUE_BUILD_LIB_SERVER, python library server, (e.g.pypi), refers to ~/.pypirc if you would like to have your own pypi serverBLUE_BUILD_PUBLISH, whether to publish docker images to dockerhub, leave empty if you like to keep images local, otherwise set to--pushBLUE_BUILD_PLATFORM, platform type (e.g.linux/amd64)
Once you configure you can see the entire profile configuration using:
$ blue profile show
default
BLUE_INSTALL_DIR       /home/ubuntu/blue/
BLUE_DATA_DIR          /home/ubuntu/.blue/data
BLUE_DEV_DOCKER_ORG    megagonlabs
BLUE_CORE_DOCKER_ORG   megagonlabs
BLUE_BUILD_LIB_SERVER  pypi
BLUE_BUILD_PUBLISH
BLUE_BUILD_PLATFORM    linux/amd64
Even though BLUE_INSTALL_DIR is part of the profile, you do not need to clone repository. The configuration is only used during development. Note blue profile config may skip some of the configurations and set them to default automatically.
You can at any point change any specific configuration, for example: blue profile config BLUE_DATA_DIR /home/ubuntu/blue_data
configure blue platform
In the next step you will need to configure platform specific configuration. To do so:
$ blue platform config
As before you will most likely accept the default values for these configuration options. One change you might want to do is if you are deploying blue on the cloud, then use the cloud instance IP addresses for these configurations: BLUE_PUBLIC_API_SERVER, BLUE_PUBLIC_DB_SERVER, BLUE_PUBLIC_WEB_SERVER, and BLUE_PUBLIC_RAY_SERVER.
As before you can at any point change specific configuration, for example: blue platform config BLUE_BUILD_IMG_SUFFIX -- "-private" to use -private as suffix for docker images.
While BLUE_EMAIL_DOMAIN_WHITE_LIST is by default gmail.com, you might want to change it to limit access.
In general, platform commands are very similar to profile commands. For example, you can use blue platform show to list platform configuration.
install platform
To install platform, you can run (you may need to docker login before if your repos are private, for public images you do not need to login):
$ blue platform install
This will download all docker images used in the deployment, including base agent images.
start platform
To start platform, you can run:
$ blue platform start
This will run the redis backend, api server, and the web application server for blue. In addition, a postgres container is brought up to host data for some of the example agents.
If you type docker ps you should see four containers running, similar to below:
$ docker ps
CONTAINER ID   IMAGE                                       COMMAND                  CREATED        STATUS        PORTS
081a9c8e59a8   megagonlabs/blue-platform-frontend:v1.0   "docker-entrypoint.s…"   2 days ago     Up 2 days     0.0.0.0:3000->3000/tcp, :::3000->3000/tcp
2233a2c7cde9   megagonlabs/blue-platform-api:v1.0        "sh -c 'uvicorn serv…"   2 days ago     Up 2 days     0.0.0.0:5050->5050/tcp, :::5050->5050/tcp
79c773d9060d   redis/redis-stack:latest                    "/entrypoint.sh"         2 days ago     Up 2 days     0.0.0.0:6379->6379/tcp, :::6379->6379/tcp, 8001/tcp
cc0670acfc76   postgres:16.0                             "docker-entrypoint.s…"   18 hours ago   Up 18 hours   0.0.0.0:5432->5432/tcp
c4a7fc212597   megagonlabs/blue-platform-ray:v1.0        "sh -c 'ray start --…"   3 months ago   Up 3 months
change user role
As you are trying out blue to see full functionality of blue it is recommended that you run it in administrator mode, which will give you rights to deploy agents, add/remove users, monitor system performance, and more. To do so:
$ blue platform config BLUE_USER_ROLE administrator
This would launch a web browser for you to sign in. Once signed in your role will be changed to administrator.
start services
Optionally, at this point you can also start some of the blue services that some agents use, for example the OPENAI service. To do so:
$ blue service --service_name OPENAI create
This will create the OPENAI server and will allow you to configure it as well. Optionally you can also configure the service using config command:
$ blue service --service_name OPENAI config
Below is the recommended configuration:
$ blue service --service_name OPENAI show
OPENAI
PORT_SRC        8001
PORT_DST        8001
IMAGE           megagonlabs/blue-service-openai:v1.0
OPENAI_API_KEY  <your key>
For OPENAI and other services that require additional service-specific configurations you can config them separately, e.g. for OPENAI you would need to configure OPENAI_API_KEY
$ blue service --service_name OPENAI config OPENAI_API_KEY <your_key>
To install (downloads service image) and start (start running service containers) type:
$ blue service  --service_name OPENAI install
$ blue service  --service_name OPENAI start
Note, if you change the configuration of a service, you must re-run blue service --service_name <service_name> start for the changes to take effect.
If you type docker ps you should see now an additional containers running, similar to below:
45b6488db428 megagonlabs/blue-service-openai:v1.0 "python openai_servi…" 18 hours ago Up 18 hours 0.0.0.0:8001->8001/tcp youthful_galileo
testing
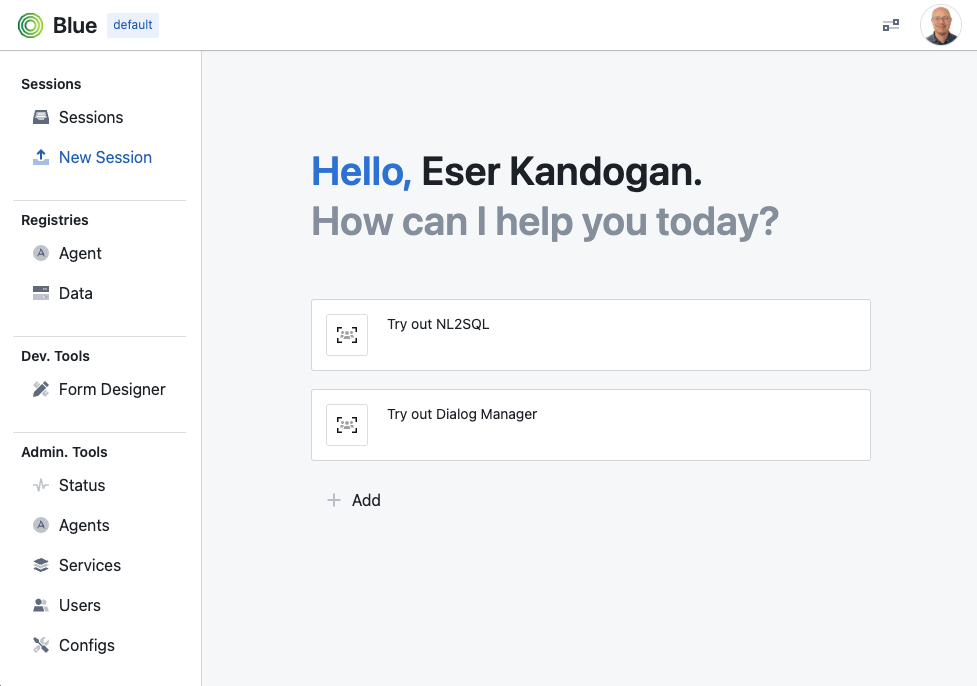
At this point blue is ready to use. You can test your deployment by browsing to the blue web application hosted at http://localhost:3000, if you accepted default configuration. Otherwise, it is http://BLUE_PUBLIC_WEB_SERVER:BLUE_PUBLIC_WEB_SERVER_PORT
You should see:
uninstall platform
To uninstall platform, you can run (you may need to docker login before if your repos are private):
$ blue platform uninstall
This will first stop all the running containers and then remove images, docker volumes, and network.
stop platform
To stop platform, you can run:
$ blue platform stop
This will onlu stop the running containers. You can restart later with blue platform start.
registry update
To update agent registry, you can run.
$ blue registry agent update input.json
Here input.json is a json file containing list of agent registry items you want to update. Here is an example input json:
[
            {
              "name": "OPENAI___INTENT_REWRITER",
              "type": "agent",
              "scope": "/agent/OPENAI",
              "description": "OPENAI intent rewriter agent",
              "properties": {
                "input_template": "Summarize the following USER-ASSISTANT conversation into a single, concise sentence describing the user's intended task. The summary should reflect the user's goal or intent, in an instruction style. Do not introduce new information. Only include what is stated or clearly implied. Respond only with JSON in the following format, nothing else. JSON response format: {\"rewrite\": \"<your_rewrite>\"}. Input: ${input}",
                "display_name": "Intent Rewriter"
              },
              "icon": null
            },
            {
              "name": "DEFAULT",
              "type": "output",
              "scope": "/agent/OPENAI/agent/OPENAI___INTENT_REWRITER",
              "description": "",
              "created_by": null,
              "properties": {
                "tags": [
                  "HIDDEN"
                ]
              },
              "icon": null
            },
            {
            "name": "BLOCKING_OPENAI",
            "type": "agent",
            "scope": "/",
            "description": "Blocking OpenAI agent that waits for all input to be ready to initiate an OpenAI call",
            "properties": {
              "image": "megagonlabs/blue-agent-blocking_openai-private",
              "display_name": "OpenAI Blocking Agent",
              "include_extra_input": true,
              "wait_for_inputs": [
                "DEFAULT"
              ],
              "categories": [
                "EXPERIMENTAL"
              ],
              "service_url": "ws://blue_service_openai:8001"
            },
            "icon": "aperture:#16A5A5"
          }
]
You can accept an update, or decline. If you want to automatically accept all updates, then you can use the option –auto True. Running the update command with this option will skip interactive steps and automatically update the registry with the changes.