Sessions
Applications
The "Applications" page shows predefined agent groups enabling users to create a new session with the correct agents included
To access the applications page
- Click on Navigation menu > applications
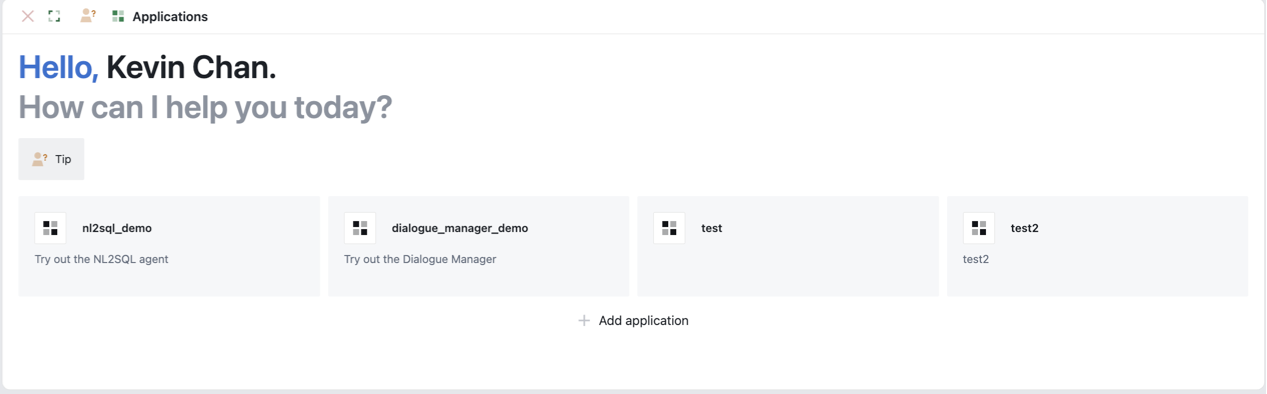
- Displayed are cards of the predefined agent groups in the system Agent groups allow you to define the agents that will be used when the users start a application session.
To create a new session with a predefined agent group. - Double-click on the agent group card - A new session is created with the agent group configuration
Add New Agent Group
To add a new agent group
- Click on Add application button
- Fill in the following fields
- Name
- Description
- Click on the create button
- To add agents to the agent group, right click > edit
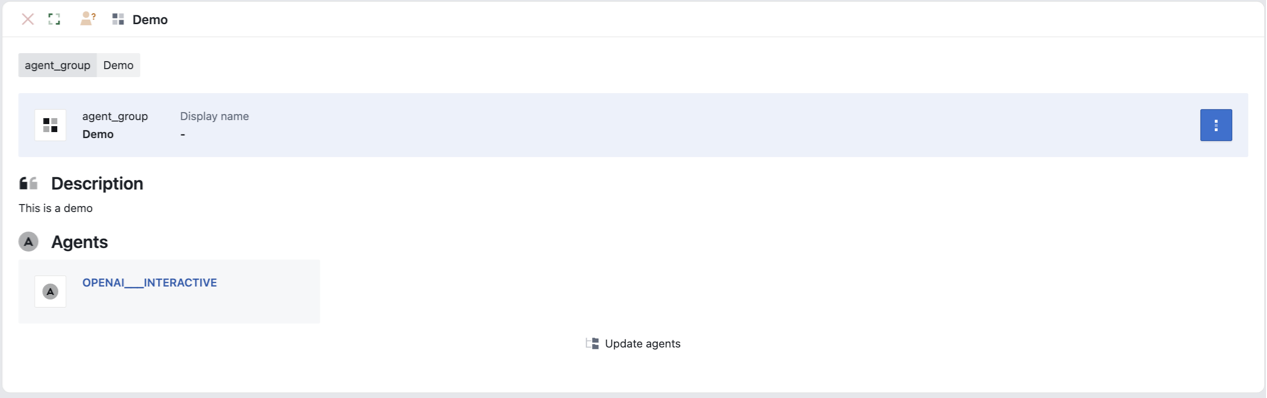
- Click on
Update agentsbutton - Select the relevant agents and click
addbutton - Click on the close button on the top left
All Sessions
The "All Sessions" page shows all the existing sessions that have been created in the system.
To access the applications page
- Click on Navigation menu > All Sessions
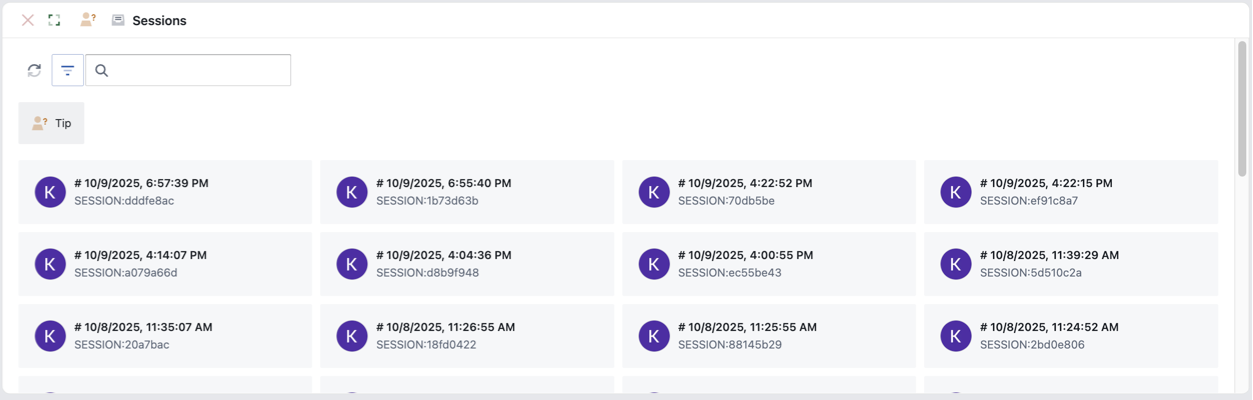
To find a session you can - Use the search box to search for a session with a session id - Use the filter button to filter on: All, My or Shared sessions
To open a existing session - Double-click on the session card
Tip: When hovering over a session card, you can click on the pin button to pin the session at the top of the sessions shown
New Session
To open a new session:
- Click on Navigation menu > new session
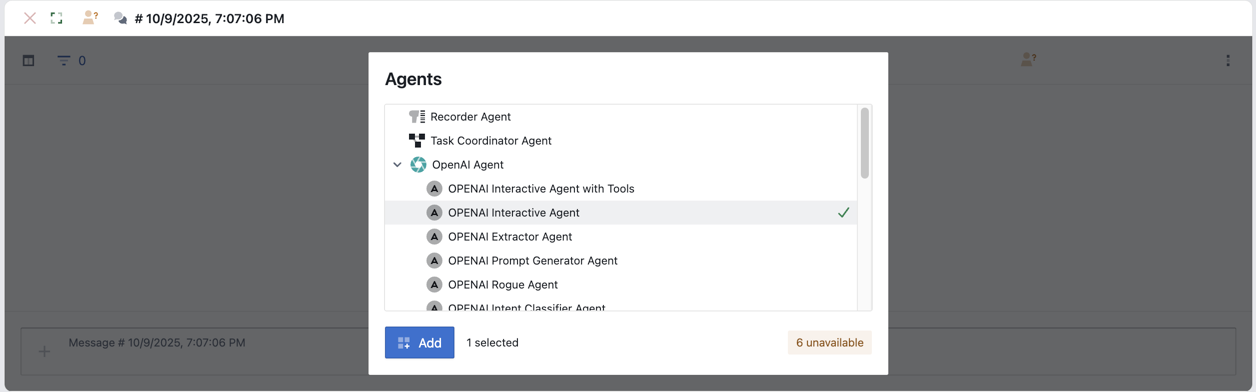
- Select the relevant agents for your session and click on the add button
- Once you have finished adding agents click on the done button
- A new session has now been created
Sessions window enabled users to interact with the system
Interaction box allows the user to input messages in natural language
Interact With Session
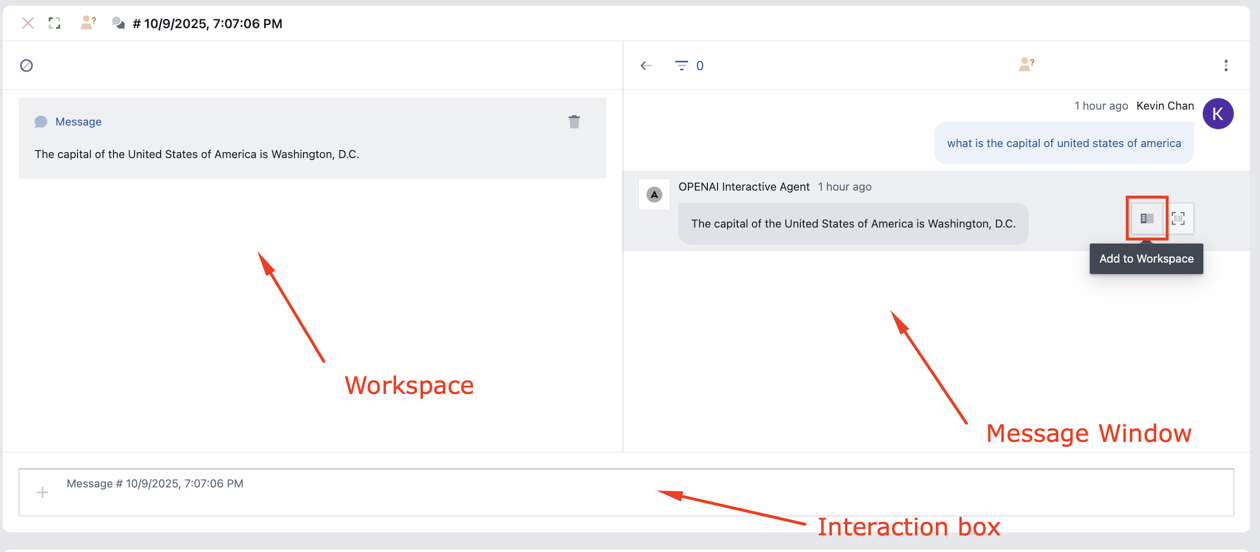
- Input user requests in natural language via the interaction box.
- Responses/output and interaction history will be displayed in the message window
- At any time you can pin any response/output to the workspace by clicking on the
Add to workspacebutton on the right of a message. This enables you to keep the response/output visible while the message window continues to add interaction history.
Tip:
-
View the sessions details by clicking on
more > open session details -
Delete a session by clicked on
more > open session details. GotoSettingstab and click onDelete this sessionbutton
Advanced Users
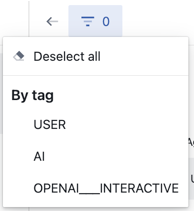
Filter Messages
Filter on messages with specific tags by clicking on the filter button.
Debug session
Debug a session by clicking on more > inspect. There are three types of session debugging available
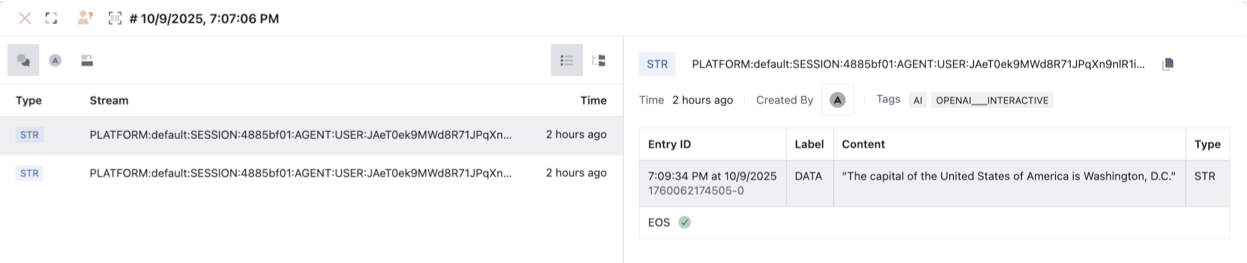
Debug: Messages
Debug message screen shows a log of all the streams and messages produced in the session.
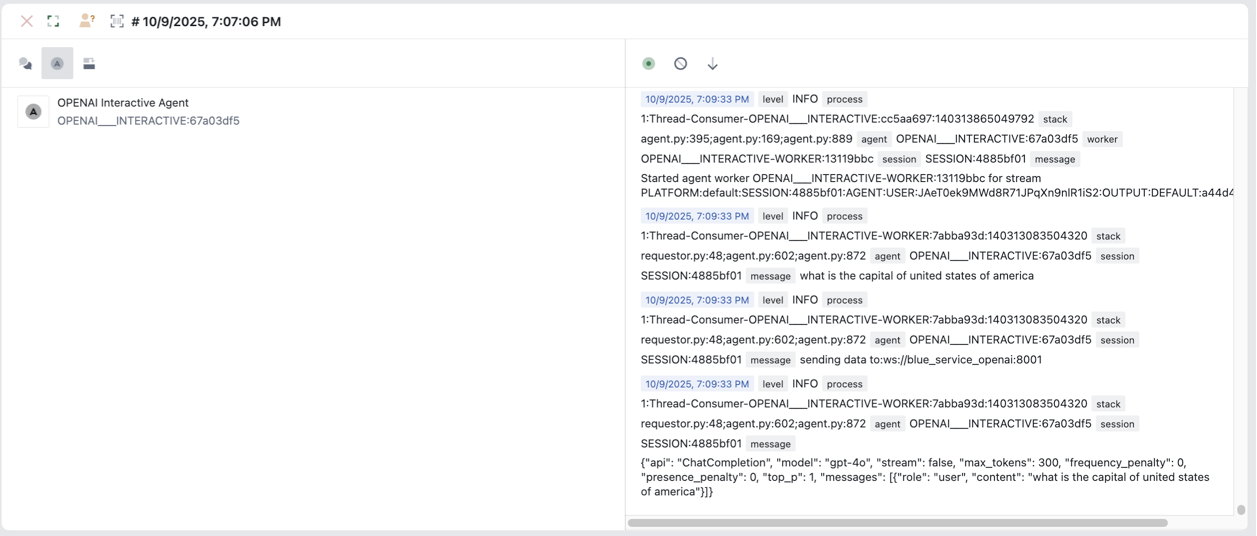
Debug: Agent
Debug agent screen shows the agents within the session and the docker logs for each of the agents
Debug: Stream Flows
Debug stream flows screen show a graphic representation of the flows within the stream.
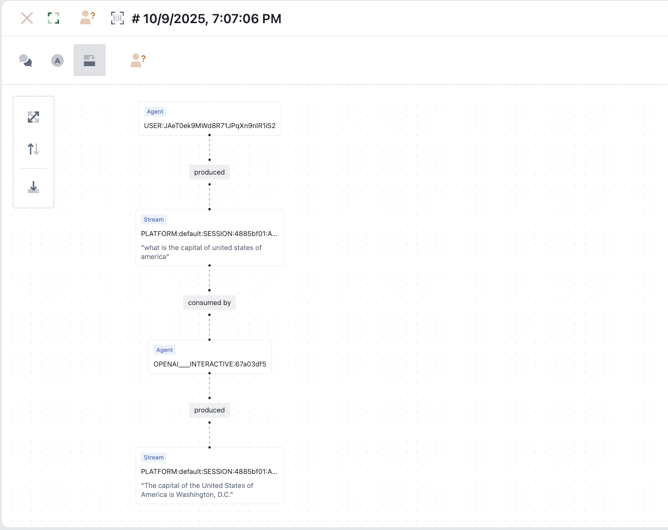
Tip:
Click on a node will highlight the immediate connecting edges